


本文章详细介绍了奶酪中氯离子的测定,包括校准液、水样的准备,校准和测量过程,以及电极和仪表的维护等内容。
方案详情

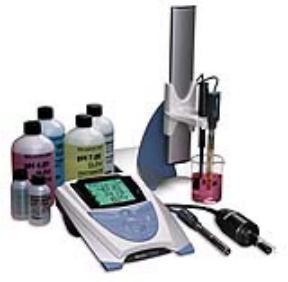
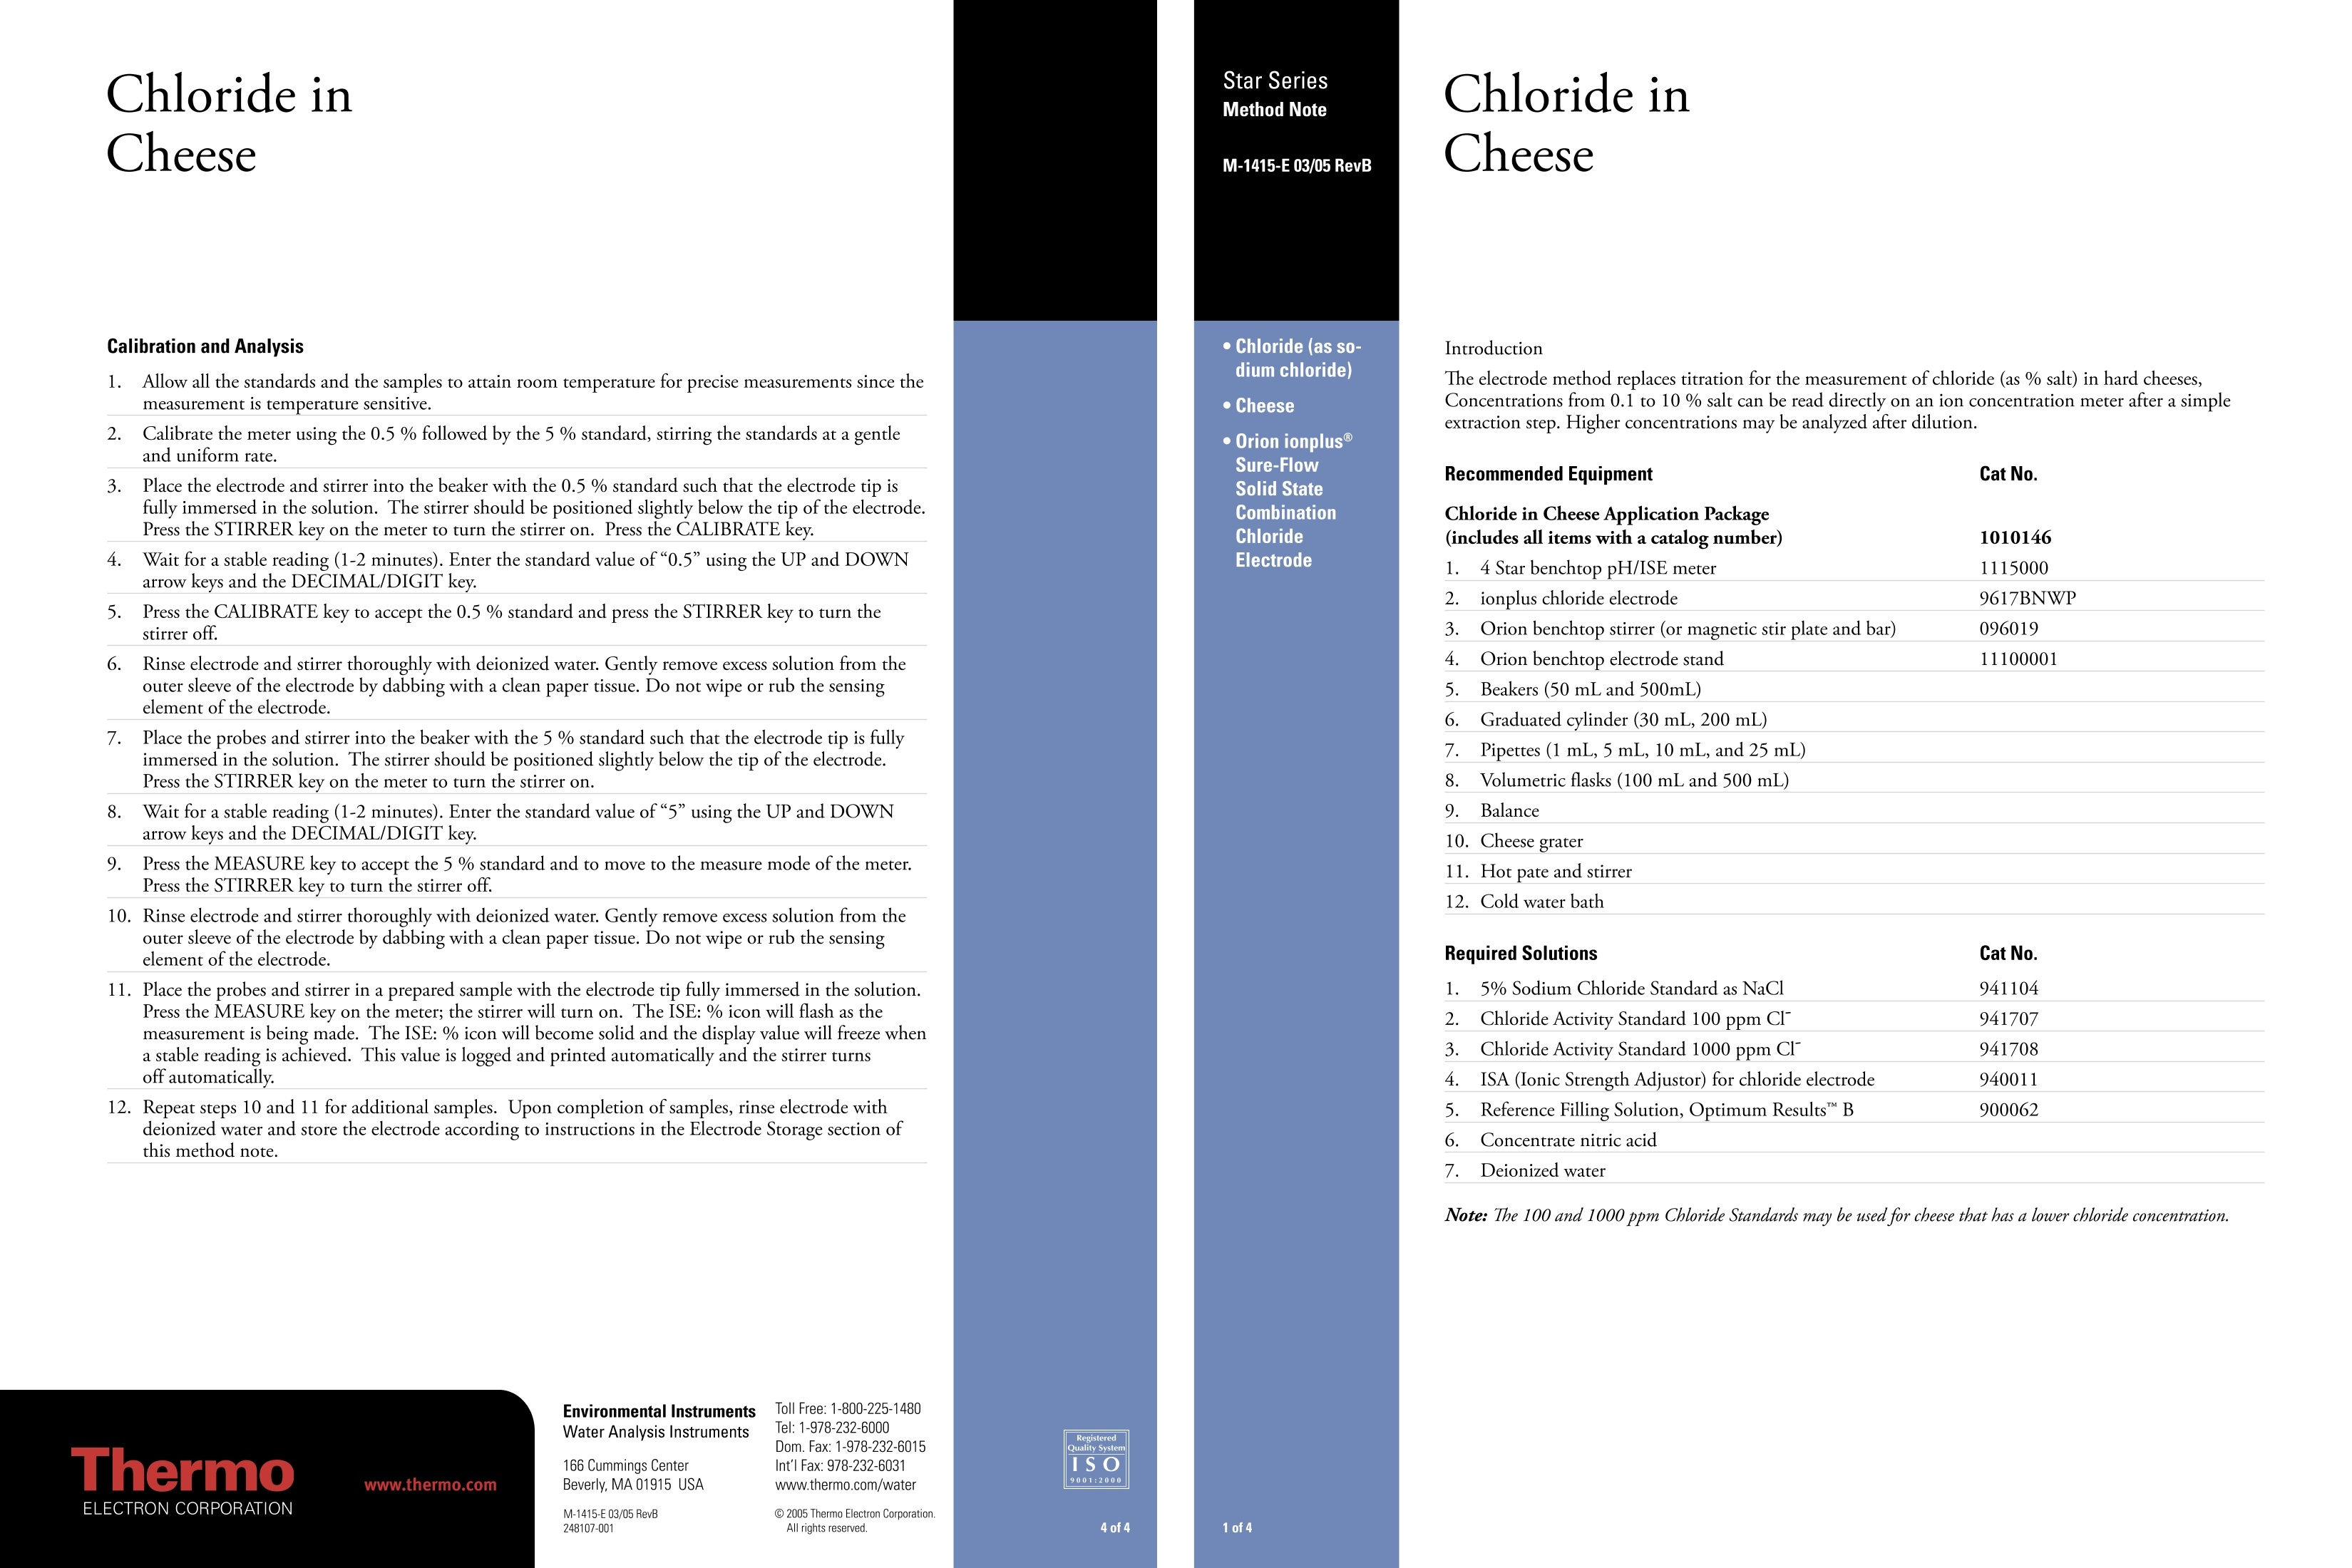
Chloride inCheese Calibration and Analysis 1.3Allow all the standards and the samples to attain room temperature for precise measurements since themeasurement is temperature sensitive. 2.Calibrate the meter using the 0.5% followed by the 5% standard, stirring the standards at a gentleand uniform rate. 3.P.lace the electrode and stirrer into the beaker with the 0.5 % standard such that the electrode tip isfully immersed in the solution. The stirrer should be positioned slightly below the tip of the eevl.ectrode.Press the STIRRER key on the meter to turn the stirrer on. Press the CALIBRATE key. 4.Wait for a stable reading (1-2 minutes). Enter the standard value of"0.5" using the UP and DOWNarrow keys and the DECIMAL/DIGIT key. 5. Press the CALIBRATE key to accept the 0.5 % standard and press the STIRRER key to turn thestirrer off. 6.Rinse electrode and stirrer thoroughly with deionized water. Gently remove excess solution from theouter sleeve of the electrode by dabbing with a clean paper tissue. Do not wipe or rub the sensingelement of the electrode. 7. Place the probes and stirrer into the beaker with the 5 % standard such that the electrode tip is fullyimmersed in the solution. The stirrer should be positioned slightly below the tip of the electrode.Press the STIRRER key on the meter to turn the stirrer on. 8.Wait for a stable reading (1-2 minutes). Enter the standard value of“5”using the UP and DOWNarrow keys and the DECIMAL/DIGIT key. 9.Press the MEASURE key to accept the 5 % standard and to move to the measure mode of the meter.Press the STIRRER key to turn the stirrer off. 10. Rinse electrode and stirrer thoroughly with deionized water. Gently remove excess solution from theouter sleeve of the electrode by dabbing with a clean paper tissue. Do not wipe or rub the sensingelement ofthe electrode. 11. Place the probes and stirrer in a prepared sample with the electrode tip fully immersed in the solution.Press the MEASURE key on the meter; the stirrer will turn on. The ISE:% icon will flash as themeasurement is being made. The ISE: % icon will become solid and the display value will freeze whena stable reading is achieved. This value is logged and printed automatically and the stirrer turnsoff automatically. 12. Repeat steps 10 and 11 for additional samples. Upon completion of samples, rinse electrode withdeionized water and store the electrode according to instructions in the Electrode Storage section ofthis method note. Chloride inCheese Introduction The electrode method replaces titration for the measurement of chloride (as % salt) in hard cheeses,Concentrations from 0.1 to 10 % salt can be read directly on an ion concentration meter after a simpleextraction step. Higher concentrations may be analyzed after dilution. Recommended Equipment Cat No. 3. Chloride Activity Standard 1000 ppm CI 941708 2. ionplus chloride electrode 9617BNWP 4. ISA (Ionic Strength Adjustor) for chloride electrode 940011 4. Orion benchtop electrode stand 11100001 5. Reference Filling Solution, Optimum Results B 900062 5. Beakers (50 mL and 500mL) 6. Graduated cylinder (30 mL, 200 mL) 7. Pipettes (1 mL, 5 mL, 10 mL, and 25 mL) 8. Volumetric flasks (100 mL and 500 mL) ). Balance 10. Cheese grater 11. Hot pate and stirrer 12. Cold water bath 6. Concentrate nitric acid 7. Deionized water Note: The 100 and 1000 ppm Chloride Standards may be used for cheese that has a lower chloride concentration. Calibration Standard Preparation 1. To prepare a 0.5 % sodium chloride standard, pipette 10 mL of the 5 % sodium chloride standard into a100 mL volumetric flask. Dilute to the mark with the deionized water. Mix well. 2. Extracting Solution (nitric acid): add approximately 200 mL distilled water into a 500 mL volumetricflask. Pipette 30 mL of the concentrad nitric acid (HNO,) to the same flask, swirl to mix and dilute to themark with the deionized water. 4 To prepare 0.5% sodium chloride standard with extracting solution and ISA, pipette 5 mL of the 0.5%sodium chloride standard prepared above, 25 mL of the extracting solution, and 1 mL of the ISA solutioninto a 50 mL beaker. 5. To prepare 5% sodium chloride standard with extracting solution and ISA, pipette 5 mL of the 5% sodiumchloride standard, 25 mL of the extracting solution, and 1 mL of the ISA solution into a 50 mL beaker. Sample Preparation 1.Place50.0 g (+0.01 g) finely grated sample into a 500 mL glass beaker. Add 300 mL of the extractingsolution use a graduate cylinder, and put a magnetic stir bar to the beaker. Cover the beaker with a watch glass. 2Place the beaker on the stirrer/hot plate and heat to the boiling point while gently stirring.34 Remove the beaker and cool to room temperature used a cold water bath. Measured 30 mL of the prepared sample and 1 mL of the ISA to a 50 mL beaker use a graduated cylinder. Results Five aliquots of prepared cheese were measured for sodium chloride. The data in the table below isrepresentative of the results expected for sodium chloride in cheese. Prepared cheese %NaCl Sample #1: 1.25 Sample #2: 1.31 Sample #3: 1.33 Sample #4: 1.28 Sample #5: 1.28 Mean: 1.29 Standard Deviation: 0,03 %CV 2.27 Electrode Storage For brief storage periods between sample measurements, store the electrode in the 0.058%(-0.01 M)sodium chloride standard. The fill solution in the electrode should not be allowed to evaporate, which causescrystallization. For longer storage periods, drain the electrode. Flush the inside with deionized water and storedry with a protective cap to protect the sensing element. If electrode response is slow, polish the sensing elementby cutting off 1 inch of the polishing strip and polish the electrode-sensing element with a circular motion forabout 30 seconds. Rinse the electrode with deionized water and soak in the 0.058%(-0.01M) standard forfive minutes. Equipment Setup Electrode Setup- ionplus electrode 1. Remove the rubber cap covering the electrode tip. 2. Fill outer chamber with Optimum Results B filling solution. 3. Lift the spout to a vertical position. 4 Insert the spout into the filling hole in the outer sleeve and add a small amount of filling solution to thechamber. Tip the electrode to moisten the O-ring at the top and return electrode to a vertical position. 5 Holding the electrode by the barrel with one hand, use the thumb to push down on the electrode cap,allowing a few drops of filling solution to drain wetting the inner cone. 6. Release sleeve. If sleeve does not return to its original position immediately, check to see if the 0-ring ismoist enough and repeat steps 4-6 until the sleeve has returned to original position. Add filling solution upto the filling hole. Meter Setup-4 star benchtop For initial meter setup, follow the steps in the Quick Reference Guide, which is attached to the meter itself.The Quick Start Guide included with each meter also contains a layout of the meter keypad for reference. Thewords in this method represented in all capital letters, such as POWER, indicate a key on the meter, and wordsin quotations such as “Unit"indicate information on the meter display. 1.Connect the electrode to the meter. 2. Connect the stirrer to the meter. 3. Press the POWER key on the meter to turn the meter on. 4. Note that the arrow on the left of the screen indicates the active line. If the top line is not active, press theLINE SELECTION key to change the selected line to the top line. Then press the UP or DOWN arrowkeys to change the measurement mode of the top line to ISE. 5 Press the SETUP key to enter ISE setup. Press the LINE SELECTION key to select the bottom line.Press the UP or DOWN arrow keys to select “3”for“rES”which is an abbreviation for resolution ornumber of significant digits. Press the LINE SELECTION key to accept value. 6 Press the LINE SELECTION key to select the middle line, and press the DOWN arrow key to select “nLIn"which is an abbreviation for non-linear blank correction. 7Press the LINE SELECTION key to select the bottom line. Press UP or DOWN arrow keys to select“off" for“nL In". Press the LINE SELECTION key to accept value. 8 Press the LINE SELECTION key to select middle line, and press the DOWN arrow key to select“rAng”which is an abbreviation for measurement range. 9 Press the LINE SELECTION key to select the bottom line. Press the UP or DOWN arrow keys to select“HigH”for "rAng” Press the LINE SELECTION key to accept value. 10. Press the LINE SELECTION key to select the middle line, and press the DOWN arrow key toselect“Unit". 11. Press the LINE SELECTION key to select the bottom line. Press the UP or DOWN arrow keys to select“PEr"(%) for “Unit". Press the LINE SELECTION key to accept value. 12. Press the MEASURE key to return to the measurement mode. Ifall steps were followed correctly themeter display will show three digits in the top line and "ISE: %”to the right of the top line. The meterand electrode are now ready for calibration. of of
确定

还剩1页未读,是否继续阅读?

产品配置单

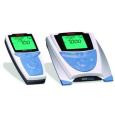
赛默飞中国实验室产品事业部为您提供《奶酪中氯离子检测方案 》,该方案主要用于其他乳制品中理化分析检测,参考标准--,《奶酪中氯离子检测方案 》用到的仪器有台式pH/ORP/ISE/溶解氧/电导率测量仪、Orion 4-Star台式(便携式)pH/离子浓度测量仪
推荐专场


相关方案
更多
该厂商其他方案
更多